Need to get your business set up on Google My Business? Getting started is quick and easy.
Step 1: Go to Google.com/Business
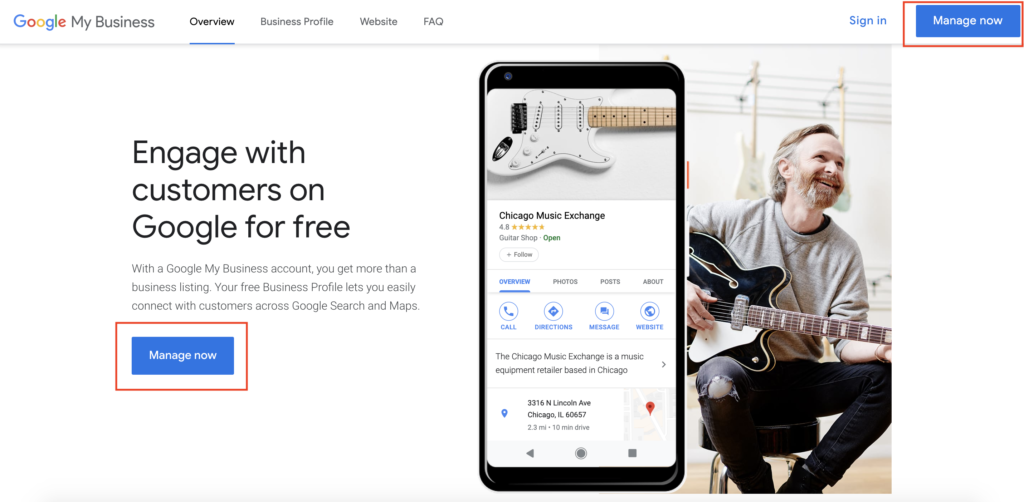
This is your starting point. If you don’t already have a Google account, you’ll need to sign up for one. With this specific Google product, a Google account is necessary to verify information.
Step 2: Search for Your Business
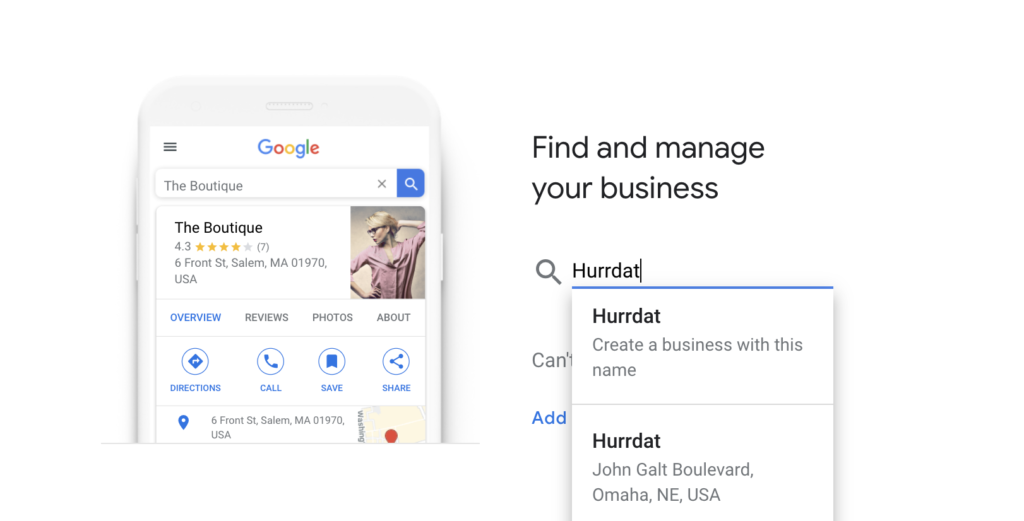
When you search for your business, one of two things will happen. Either your business name and address will pop up, or it won’t. If your business name doesn’t pop up, that’s okay. All that means is you need to click on “Add Your Business.”
If Google does show your business name, it means your business is currently listed by Google. But that doesn’t always mean a Google My Business page has already been created. In most cases, if you’ve added local business listings to other online directories, Google may populate the information based on those directory listings.
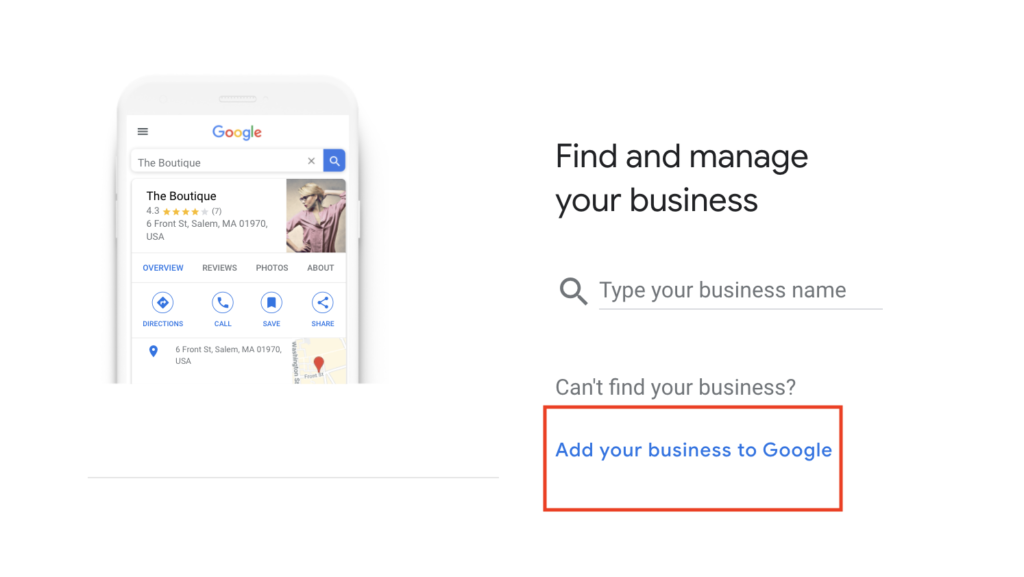
By adding your business manually, you will need to then click through to the next screens where you will be asked to start adding specific business information. This is your opportunity to set your business up correctly for Google and ensure that your customers are finding the best, most accurate information.
Step 3: Adding Specific Business Information
After you add your business to Google My Business, you will then want to select which category your business fits into.

NOTE: Be specific with your business category. This category will help Google better place you in local search results for your industry, such as “website designer in Omaha.”
Next, Google wants to be able to tell customers whether or not you have a physical location. Simply answer Yes or No.
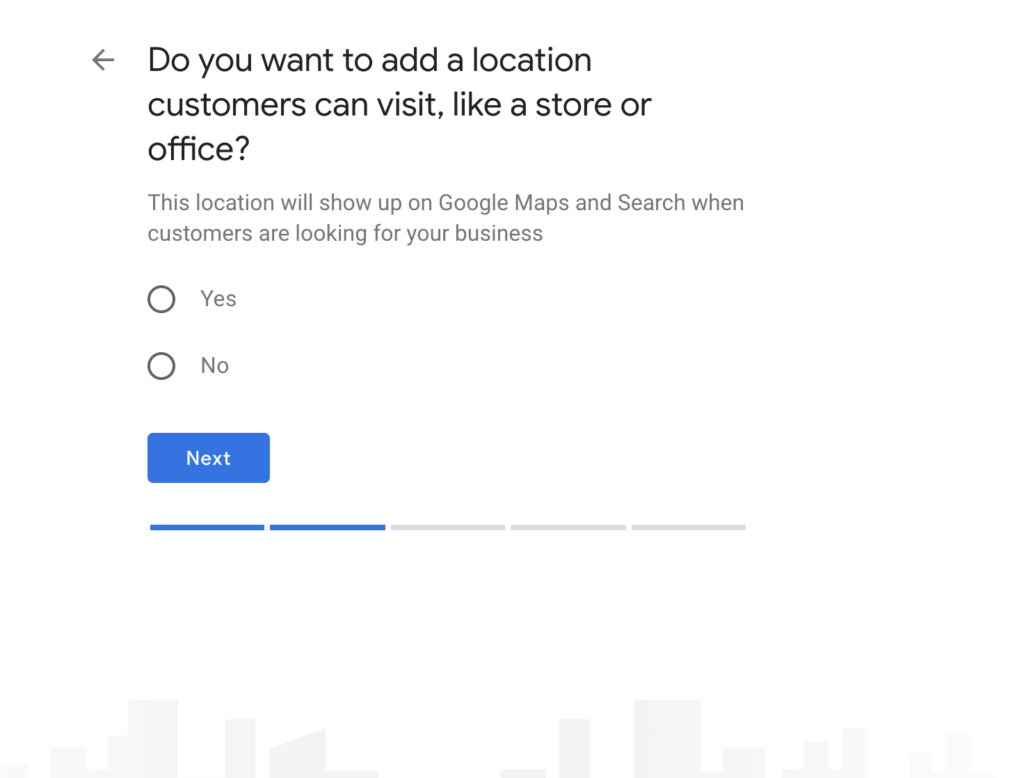
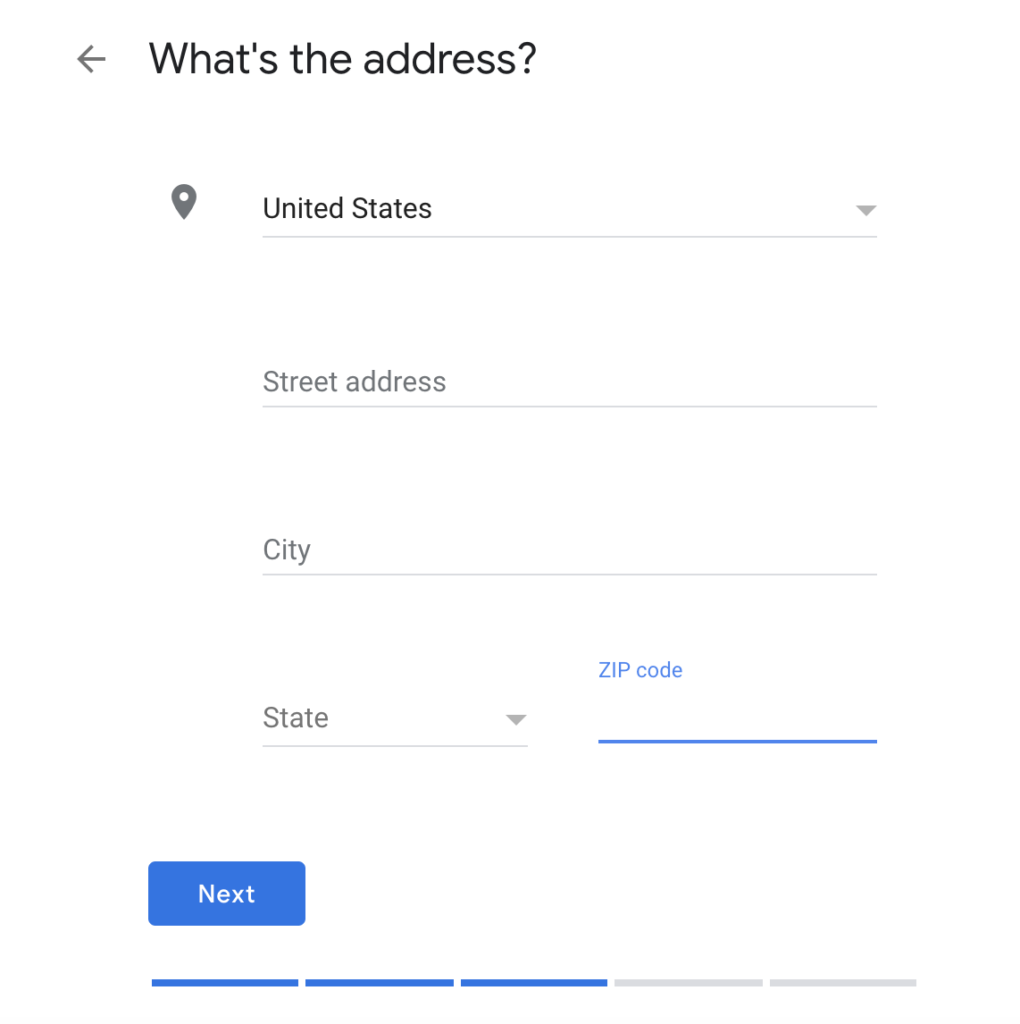
Next, you’ll want to add your physical address to give customers a place to visit and a way for Google to correctly place your business in Maps.
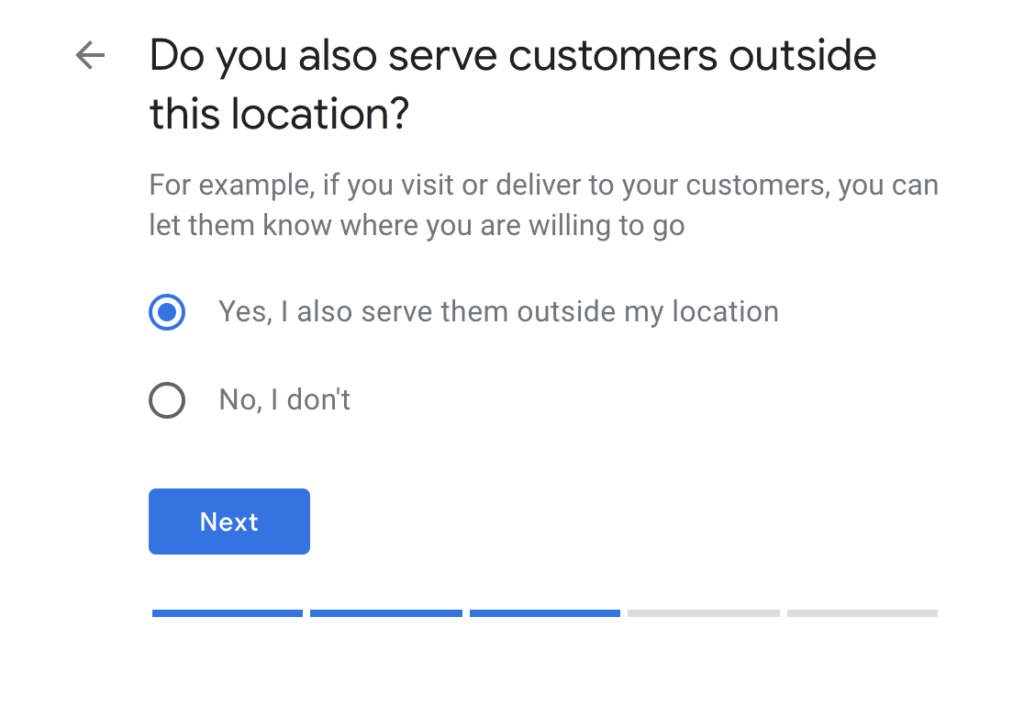
Do you also happen to serve customers off-site? Such as, do you deliver to your customers or visit them at their home? Simply answer Yes or No again.
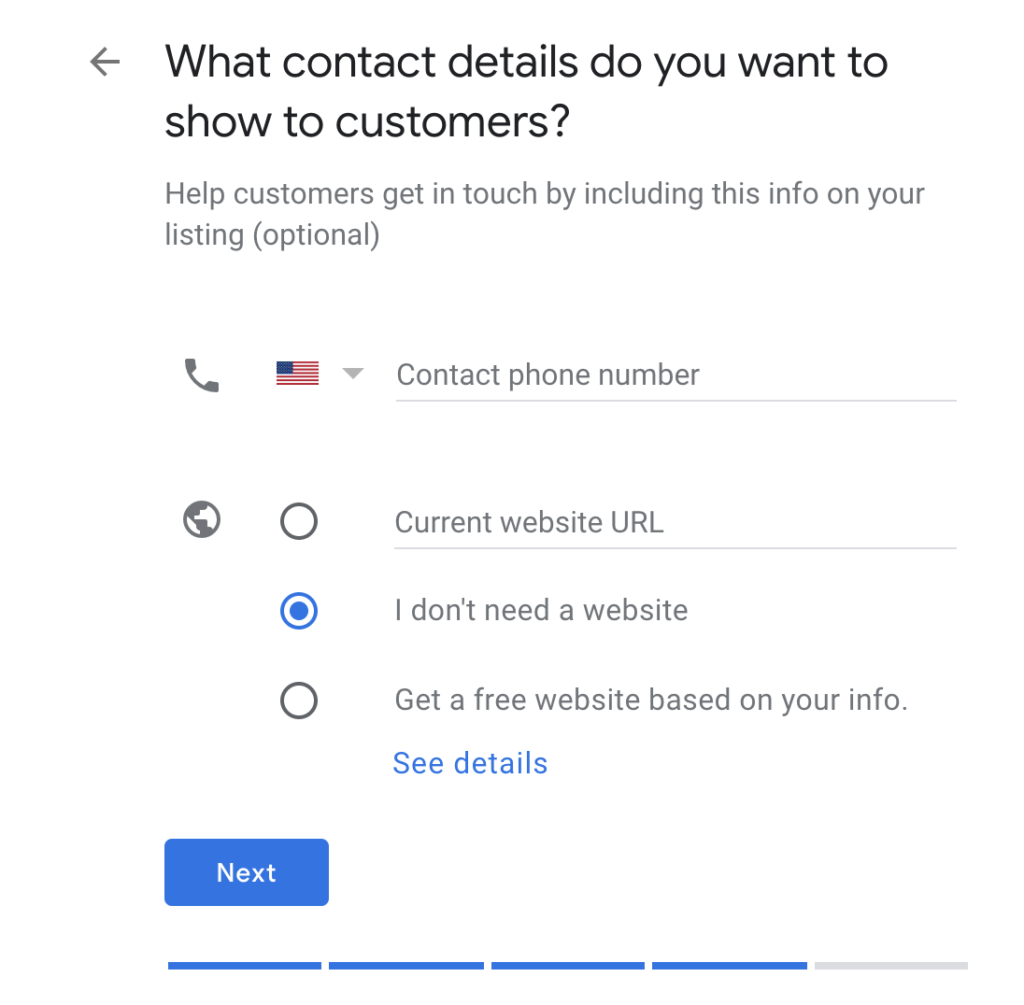
Google then will ask for your contact details. It is imperative that you double-check this information to ensure that it’s correct. While you have the ability to update it later on, it’s best to save yourself the hassle by keeping this information up-to-date from the outset.
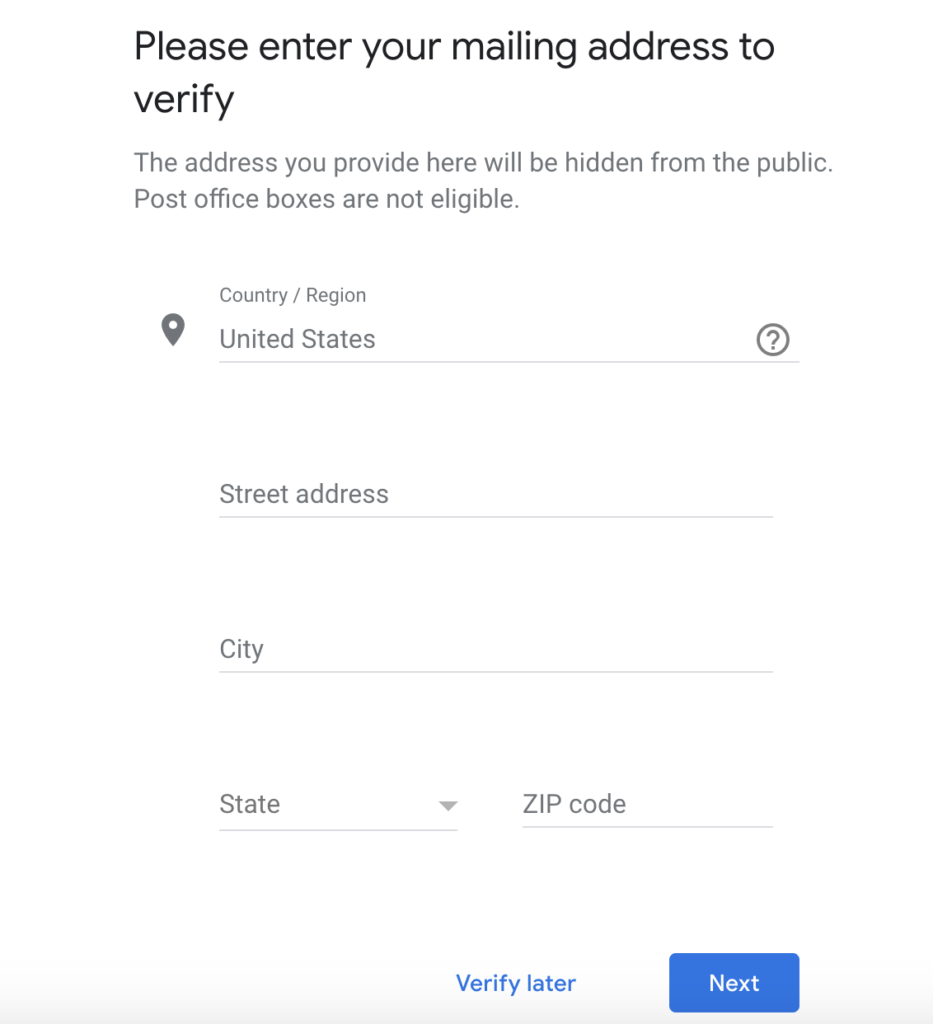
Finally, it will be time to verify your business.
Step 4: Verify Your Business
Google will prompt you to verify your business information using one of three options. The first is via a code sent on a postcard from Google to an address of your choosing.
This will take a few days to arrive, but upon receiving the postcard, you’ll need to sign into your Google Account and find the “Verify Now” button. After you enter the code, you can start using your dashboard.
Some categories will allow for instant verification of your listing from Google through a phone call or text with a code, but it’s not allowed for all. Your best bet for verification will always be to have Google send you the code via postcard.
Step 5: Input Additional Business Information
Once you’ve been verified, you will then be able to access your Google My Business dashboard.
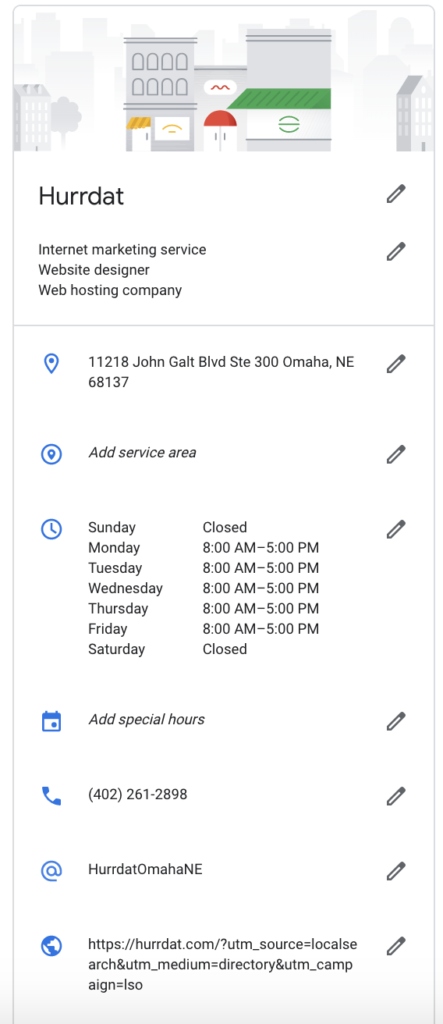
Once on the dashboard, you can add more information. Aside from correcting your business name, address, phone number, and website URL, be sure to add the following:
Introduction
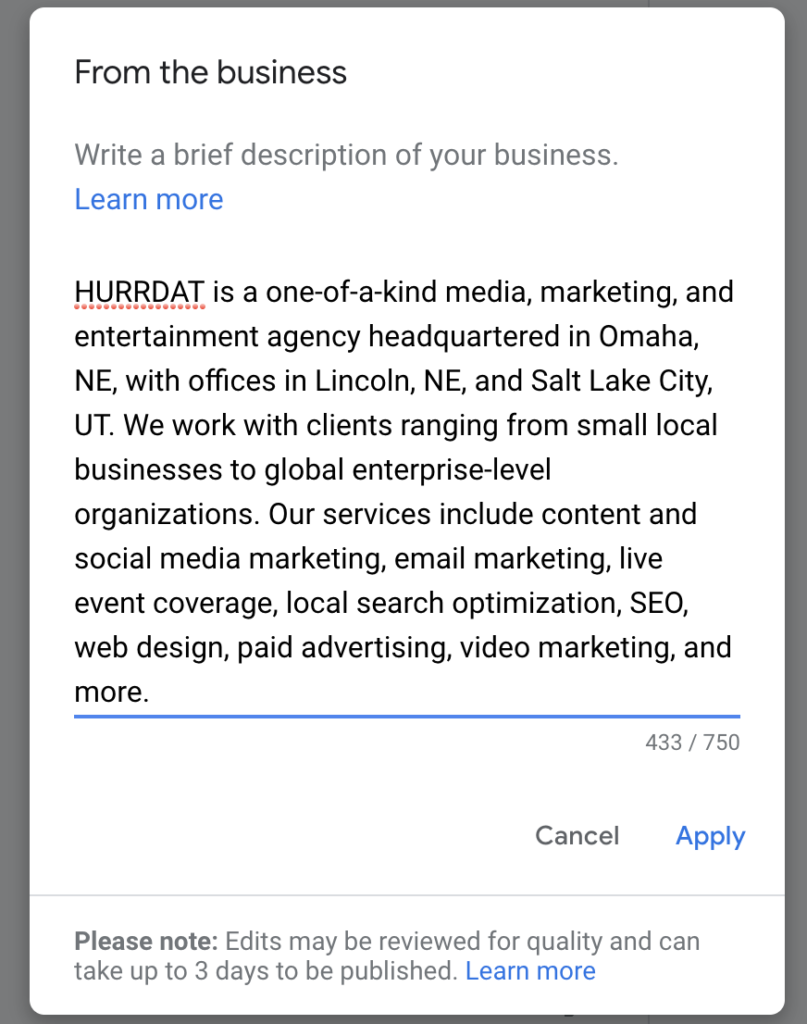
In the event that a customer doesn’t click through to your website to learn more about what you offer, you can provide that information directly to Google through your local listing. Your introduction should tell customers what you do and what products or services you provide.
Business Category

In order to appear in relevant local search results (e.g., You’re a pizza restaurant and someone in your area searches “pizza near me”), your business listing needs to have the right category. Try not to be too broad. If you think you fall into more than one or two categories, stick with the one that best represents you.
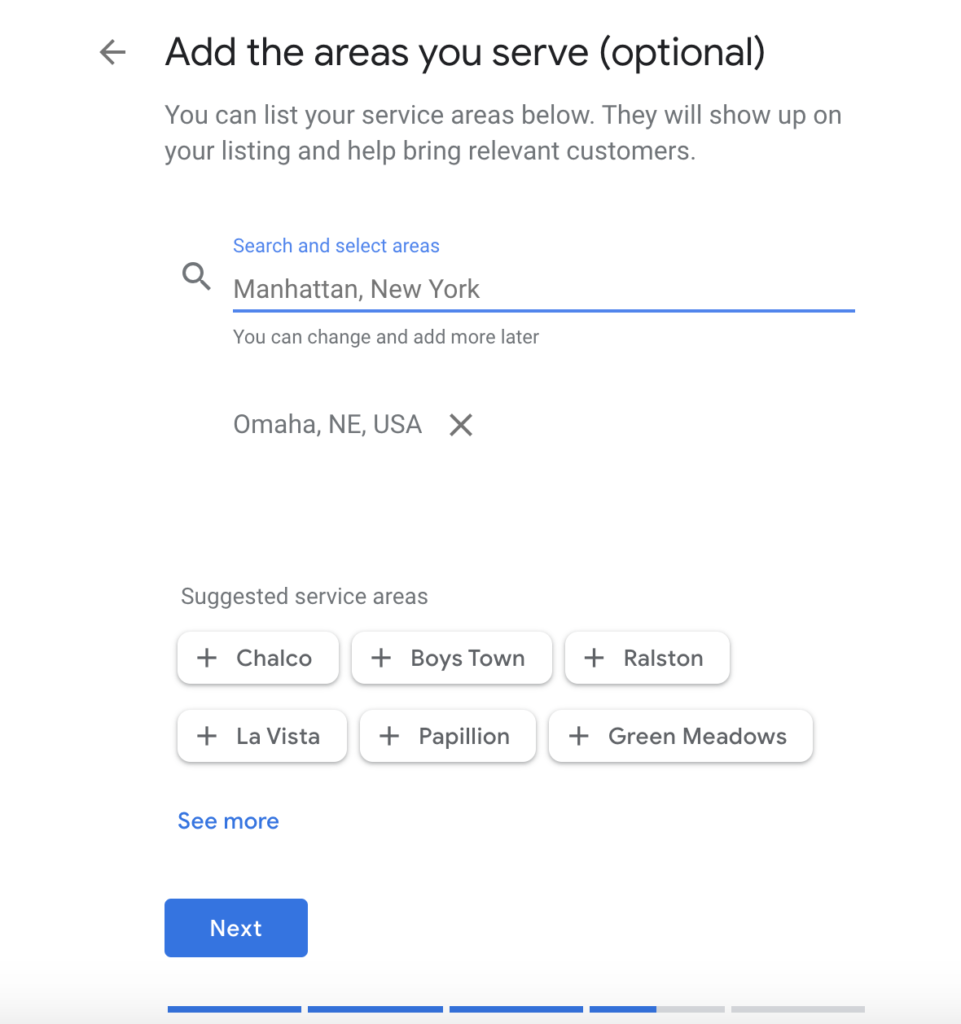
Service Areas
Next, if your business does any work outside of your local area, be sure to add in the areas you serve to help Google understand that when someone searches for your business category in another location, you have the chance to show up in relevant search results.
Exterior and Interior Business Photos
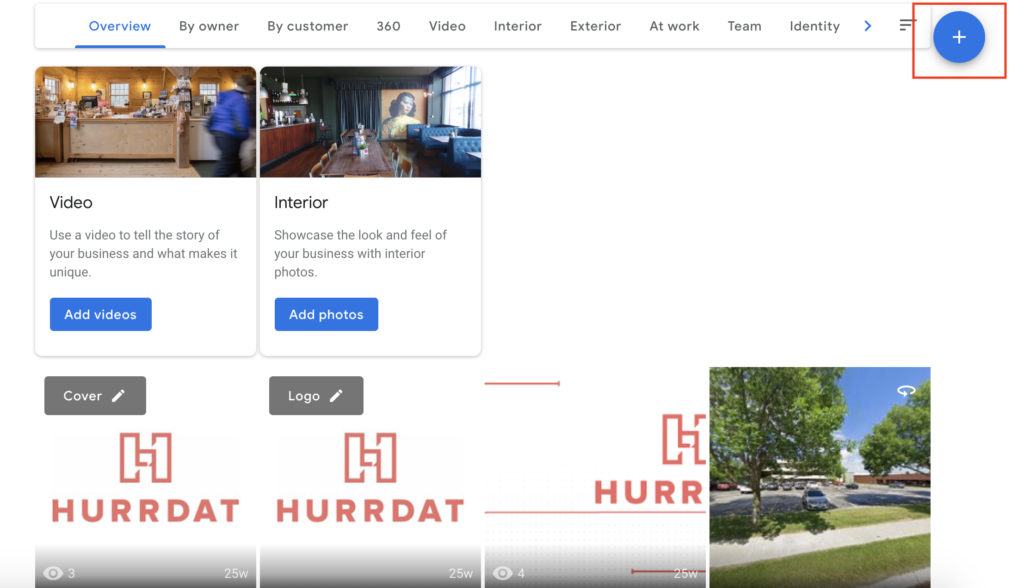
You’ll want to add photos of your business’ exterior, interior, and team members/employees. This helps potential customers recognize your building and signage, as well as get to know your company’s face(s).
Hours of Operation
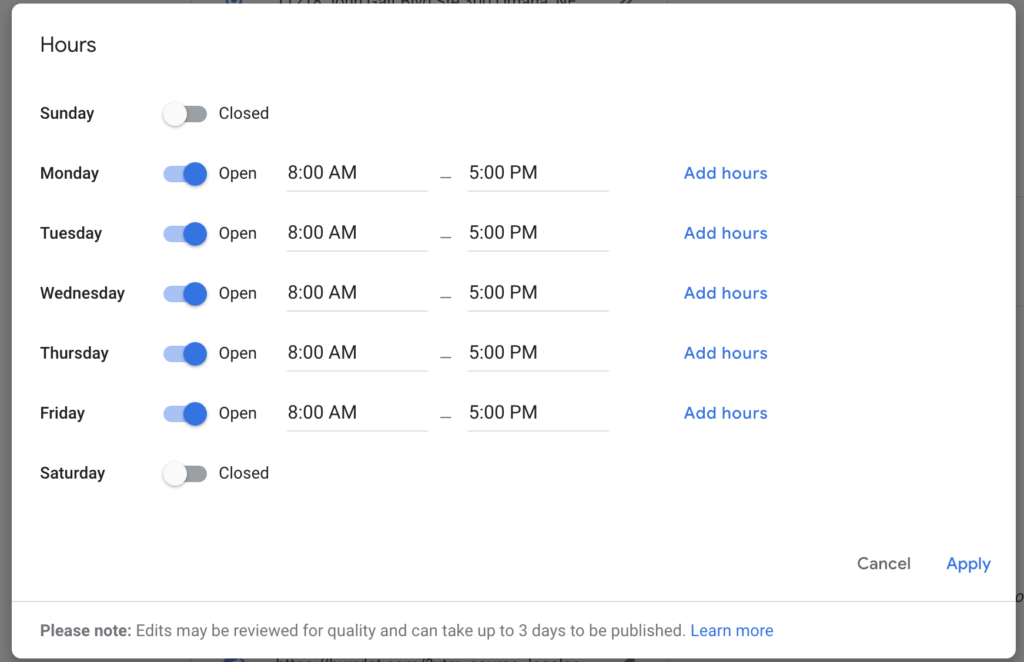
Since hours of operation appear in local search results, it’s good to include this information in your business listing. That way, customers will be able to find your hours quickly and easily while searching for your business.
Step 6: Hit Submit
Once you’ve added all of the necessary information, all you have to do is hit the submit button and you’re set!